Doll's hanging rail and hangers
A clothes rail that screws inside a cupboard, with coat hangers that hang level and lift on and off easily. Set the cupboard width, pole size and hanger width below and download your own version.
Loading model…
The toy pony tack locker I’m building has a tall hanging space next to the shelves, and the toy rider dolls’ jackets and jodhpurs needed somewhere to go. This is a rail for it: a pole, two brackets that screw to the walls either side, and a set of coat hangers to match.
There are two print plates. Hangers is the default shown above: eight hangers nested head to tail so they fit on a 250 mm bed. Pole and brackets is the other; switch Parts in the form, or download the default pole and brackets for a 165 mm wide space.
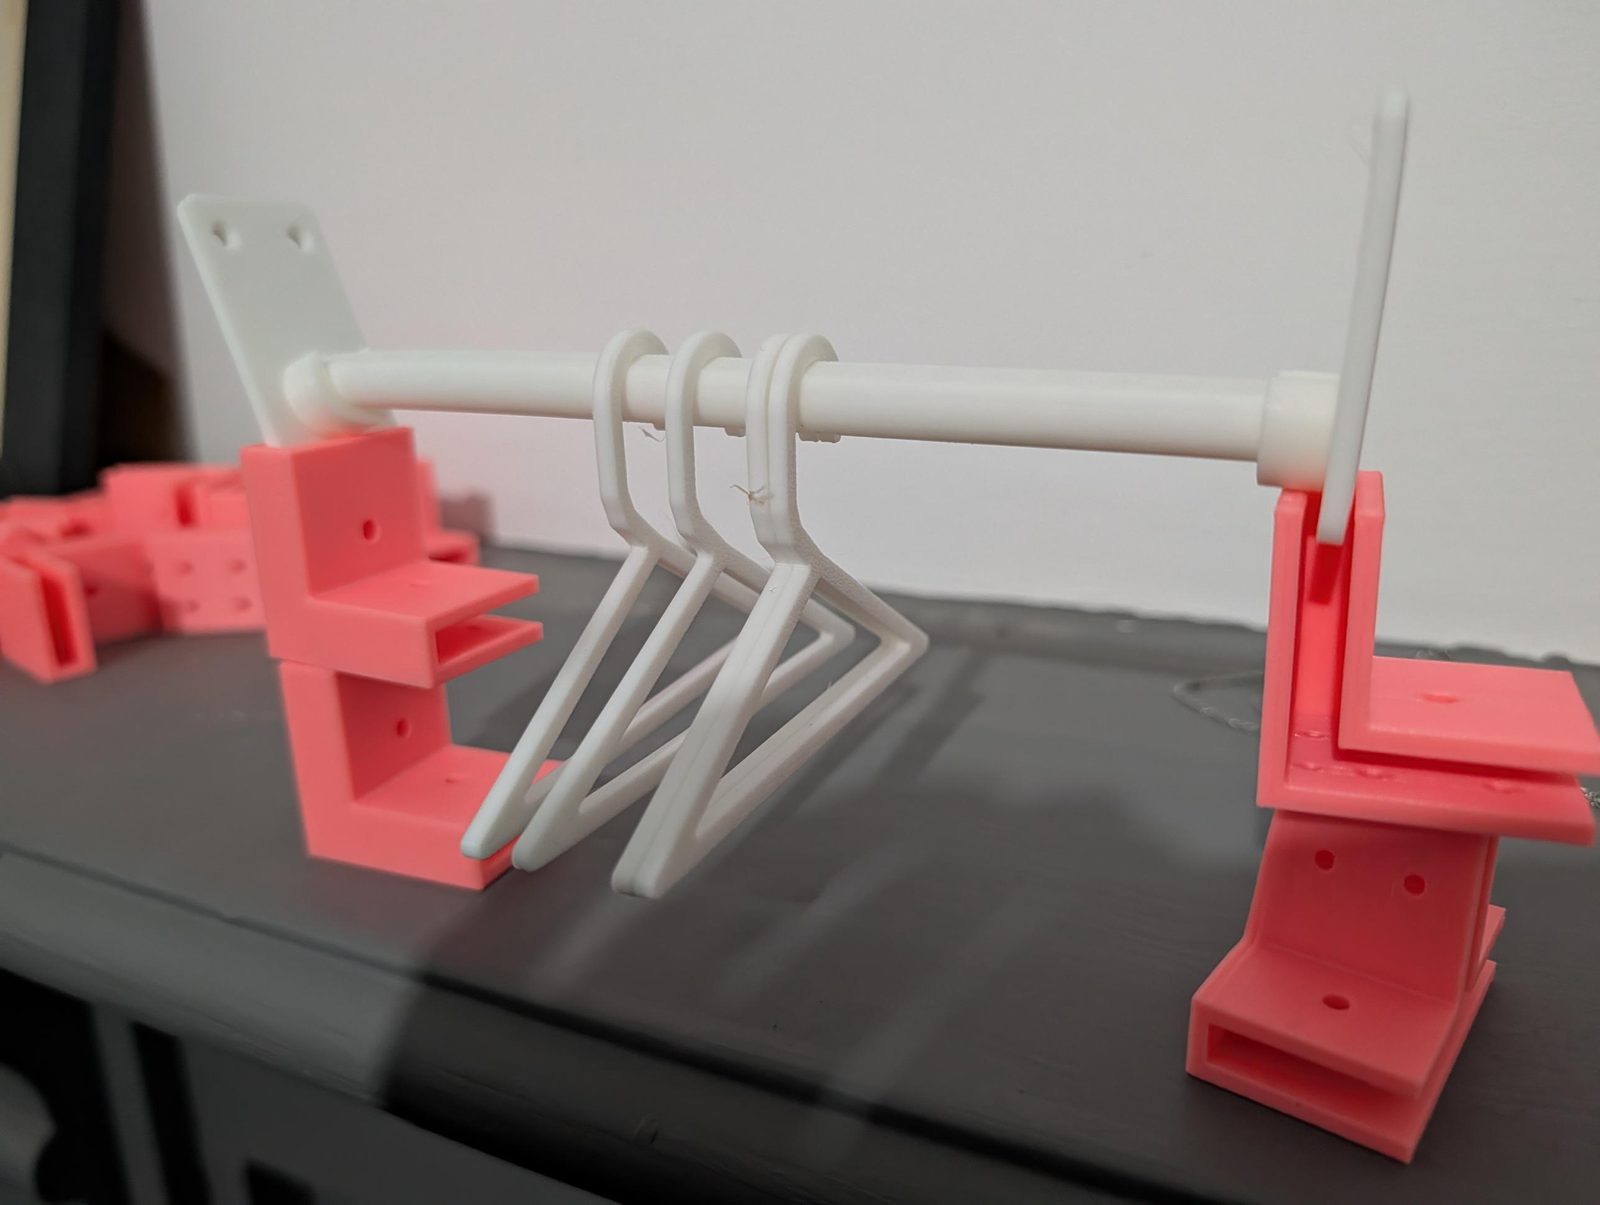
The hangers
They’re the shape of a full-size plastic hanger: straight shoulders, a bottom bar for trousers or a folded rug, and a neck that rises into a hook. Two things took a couple of goes to get right.
- Hanging level. A hook drawn on the centre line doesn’t quite hang straight, because the neck leans to one side and pulls the weight with it. The generator works out the hanger’s centre of mass and moves the hook until the point it rests on sits directly above it.
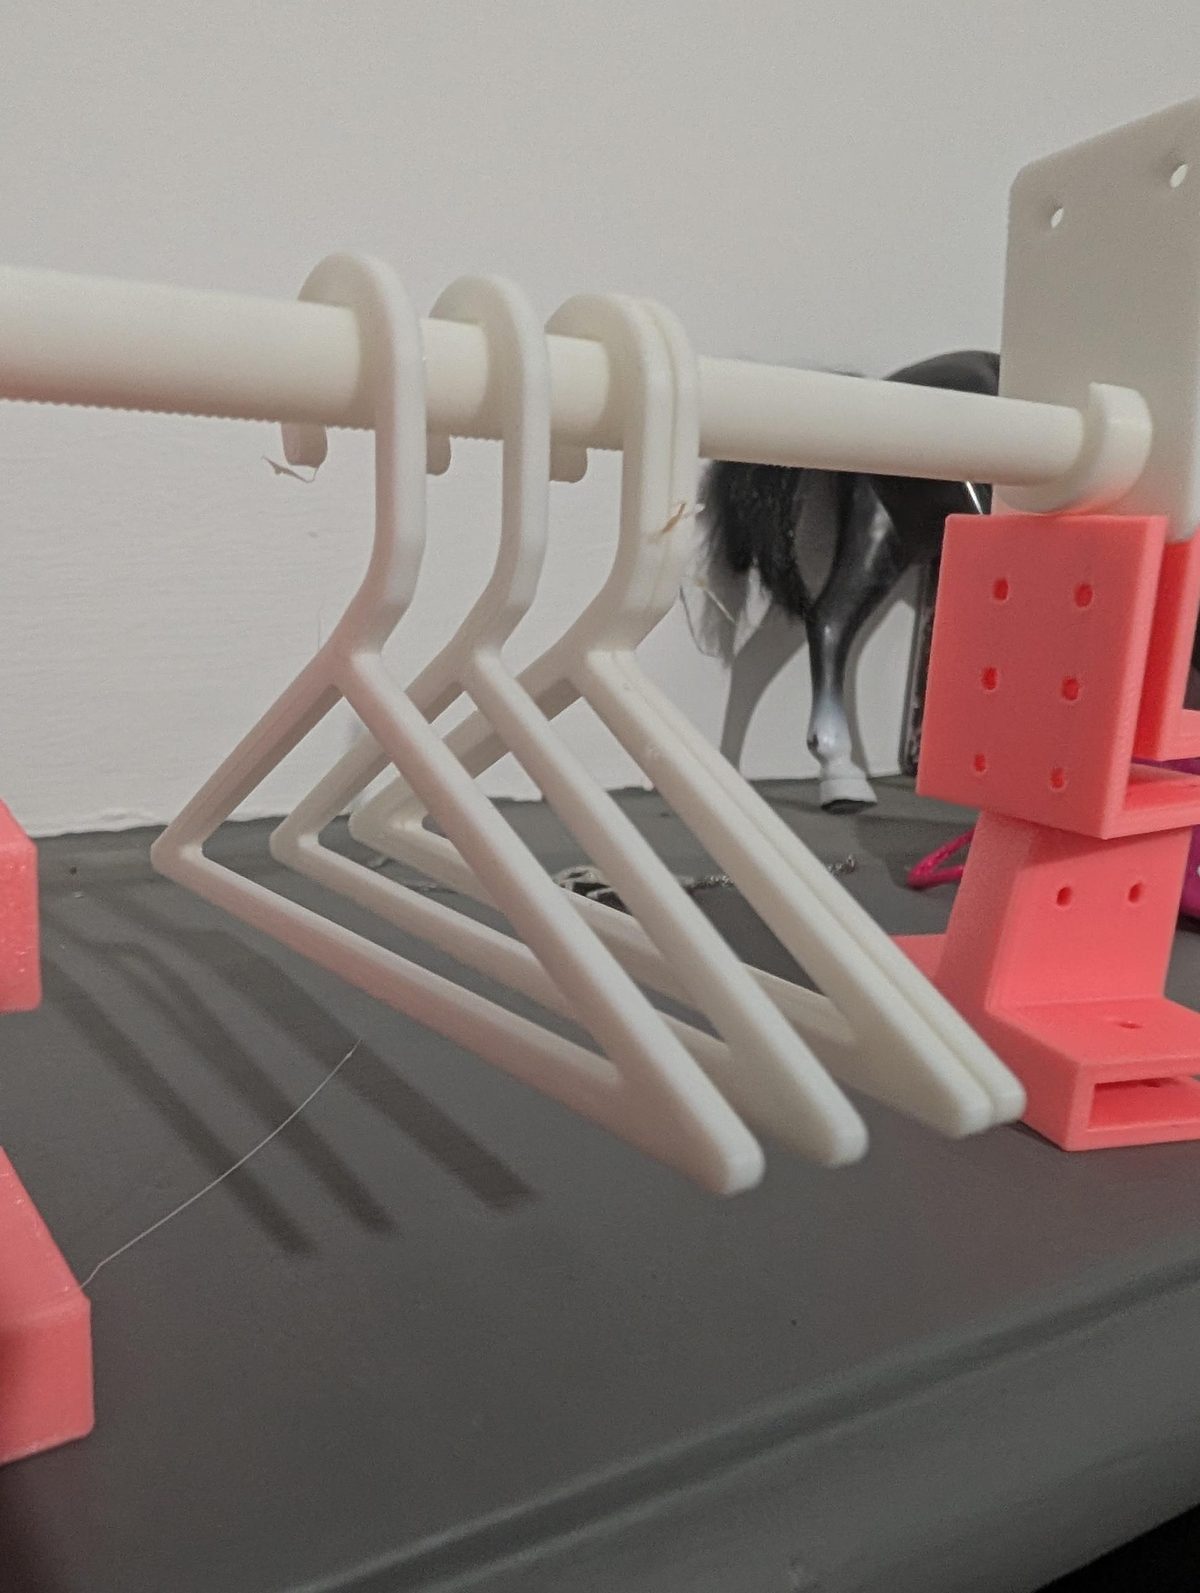
- Getting on and off. The hook leaves 2 mm round the pole, and the neck runs straight up under the hook for its last stretch, which leaves a channel under the hook tip. To hang one up, slide it sideways so the pole passes under the tip, then lift it onto the hook. The generator checks that path is clear for whatever pole and hanger sizes you choose.
The default hanger is 100 mm across. Hold a piece of clothing against one before you print a whole batch, and change Hanger width if it needs to be bigger or smaller. They hang front to back in the cupboard, so anything up to the depth of the space will fit.
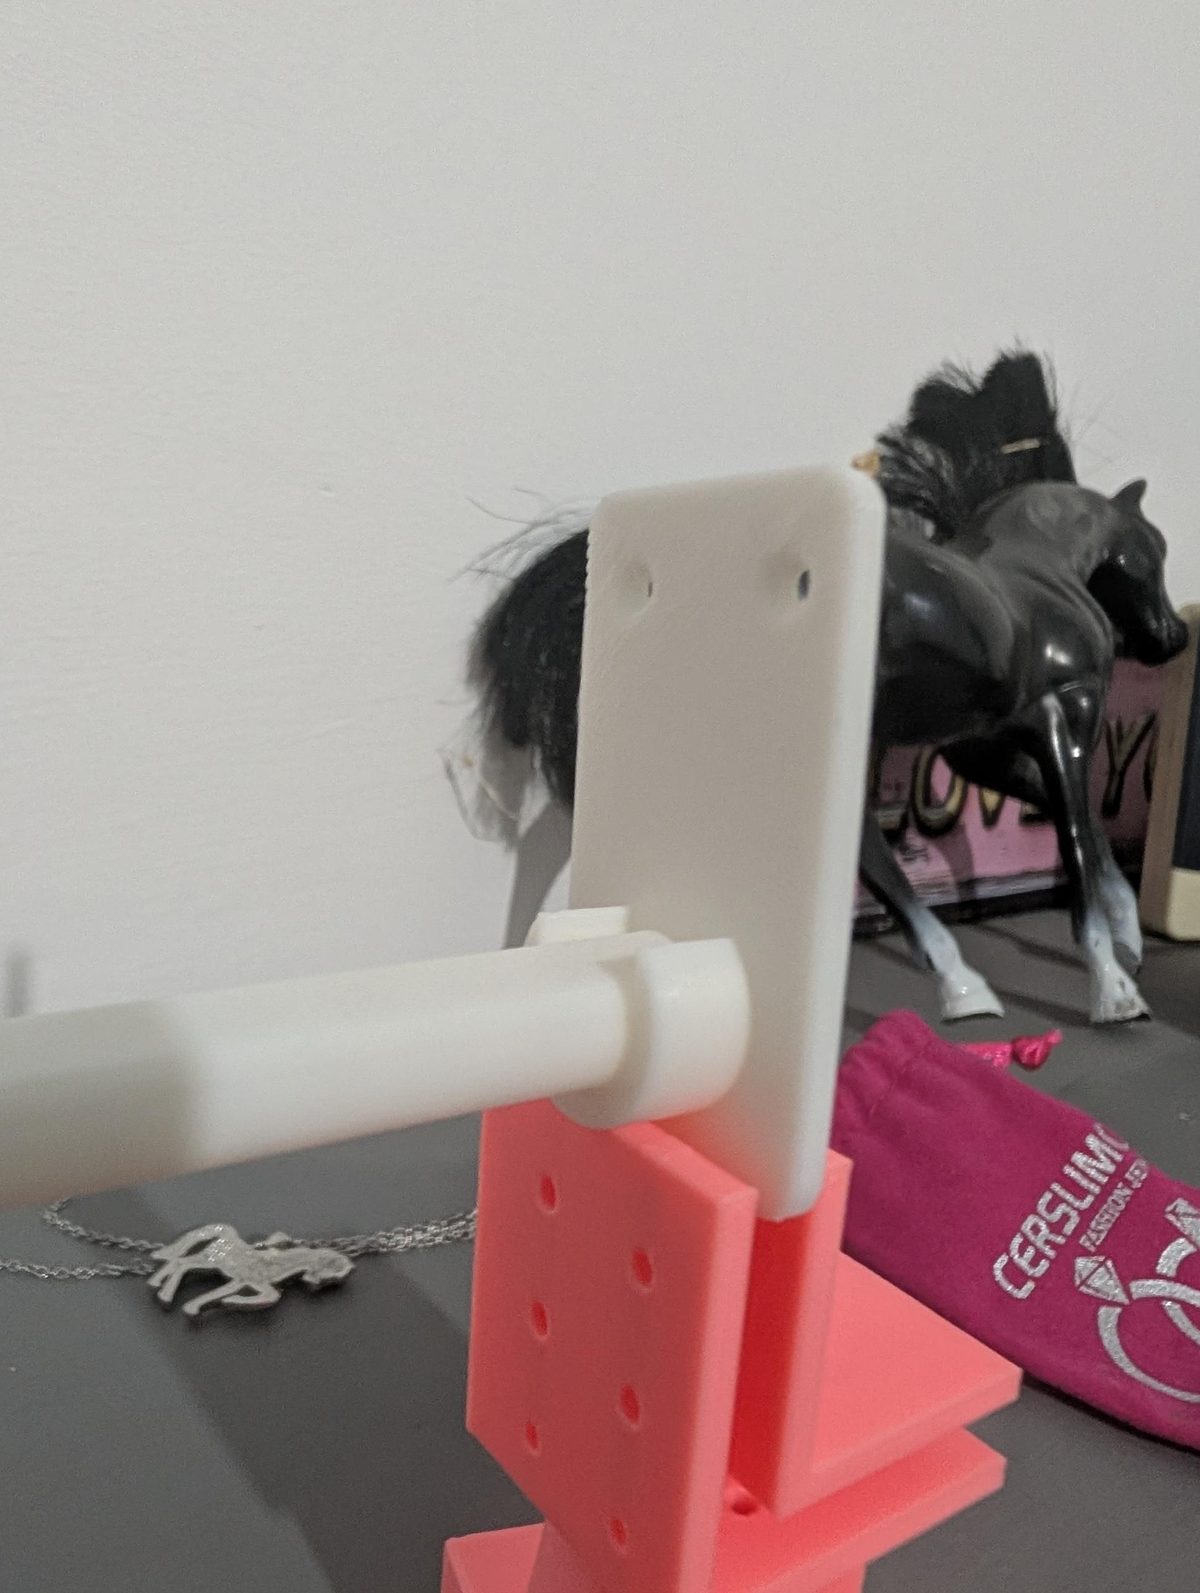
Fitting the rail
Set Space width to the inside width of the cupboard. The pole comes out 7 mm shorter than the space, which leaves room for the bracket plates and half a millimetre at each end. The cup on each bracket is open at the top, so the pole drops in and lifts out for cleaning.
Fix the brackets with their top edge against the top of the space, centred front to back. The pole then sits where Pole below the top says (36 mm by default), which leaves room above the hangers to lift them off. The countersunk holes take 2.5 mm screws. In 5.5 mm ply, keep them to 6 mm long so they don’t come out the other side, or glue the brackets on instead.
The pole prints lying down on a small flat, so it doesn’t need supports. Three or four walls make the pole and the hangers stiff enough that infill hardly matters.
How it’s made
Like the board joints that hold the locker together, the model is generated in JavaScript with manifold-3d, a geometry library compiled to WebAssembly. The same code made the default files (with node scripts/build-hanging-rail.mjs) and runs in your browser when you change a value, so the STL you download is made on your own machine. Laying out a plate of hangers takes a second or two. The link from Copy link keeps your settings, so you can share a particular size.