Drill guide
A small block with stabilising feet that holds a drill bit upright while you start a hole. Change the sizes below and download your own version.
Loading model…
I sketched this on a notepad: a block with a hole straight through it and feet sticking out at the bottom so it can’t rock. Hold it down, put the bit through the hole and it starts square to the surface instead of wandering.
The default is a 16 mm hole in a guide 15 mm high, with a square body and four feet. Square is a little quicker to slice and print than round, and the body shape is one of the options if you prefer the round look of the original sketch.
The printed guide
Here’s the default 16 mm version, printed.
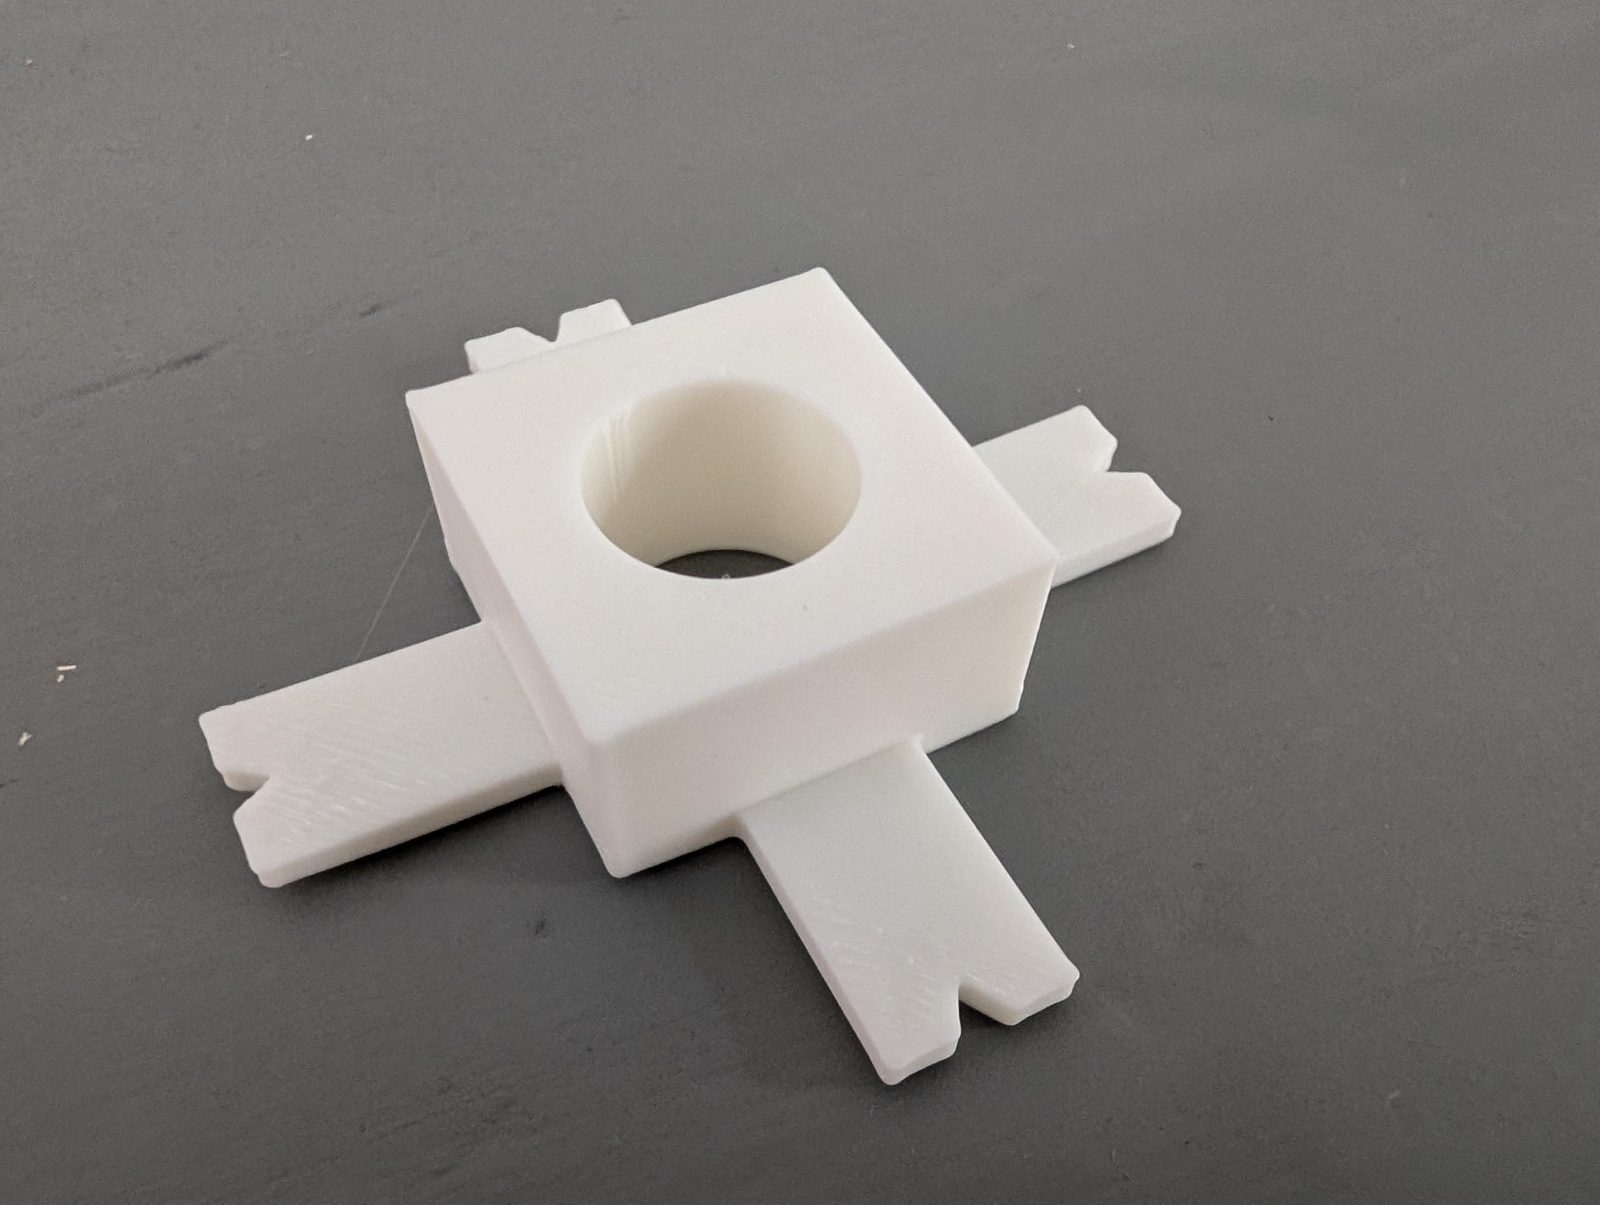
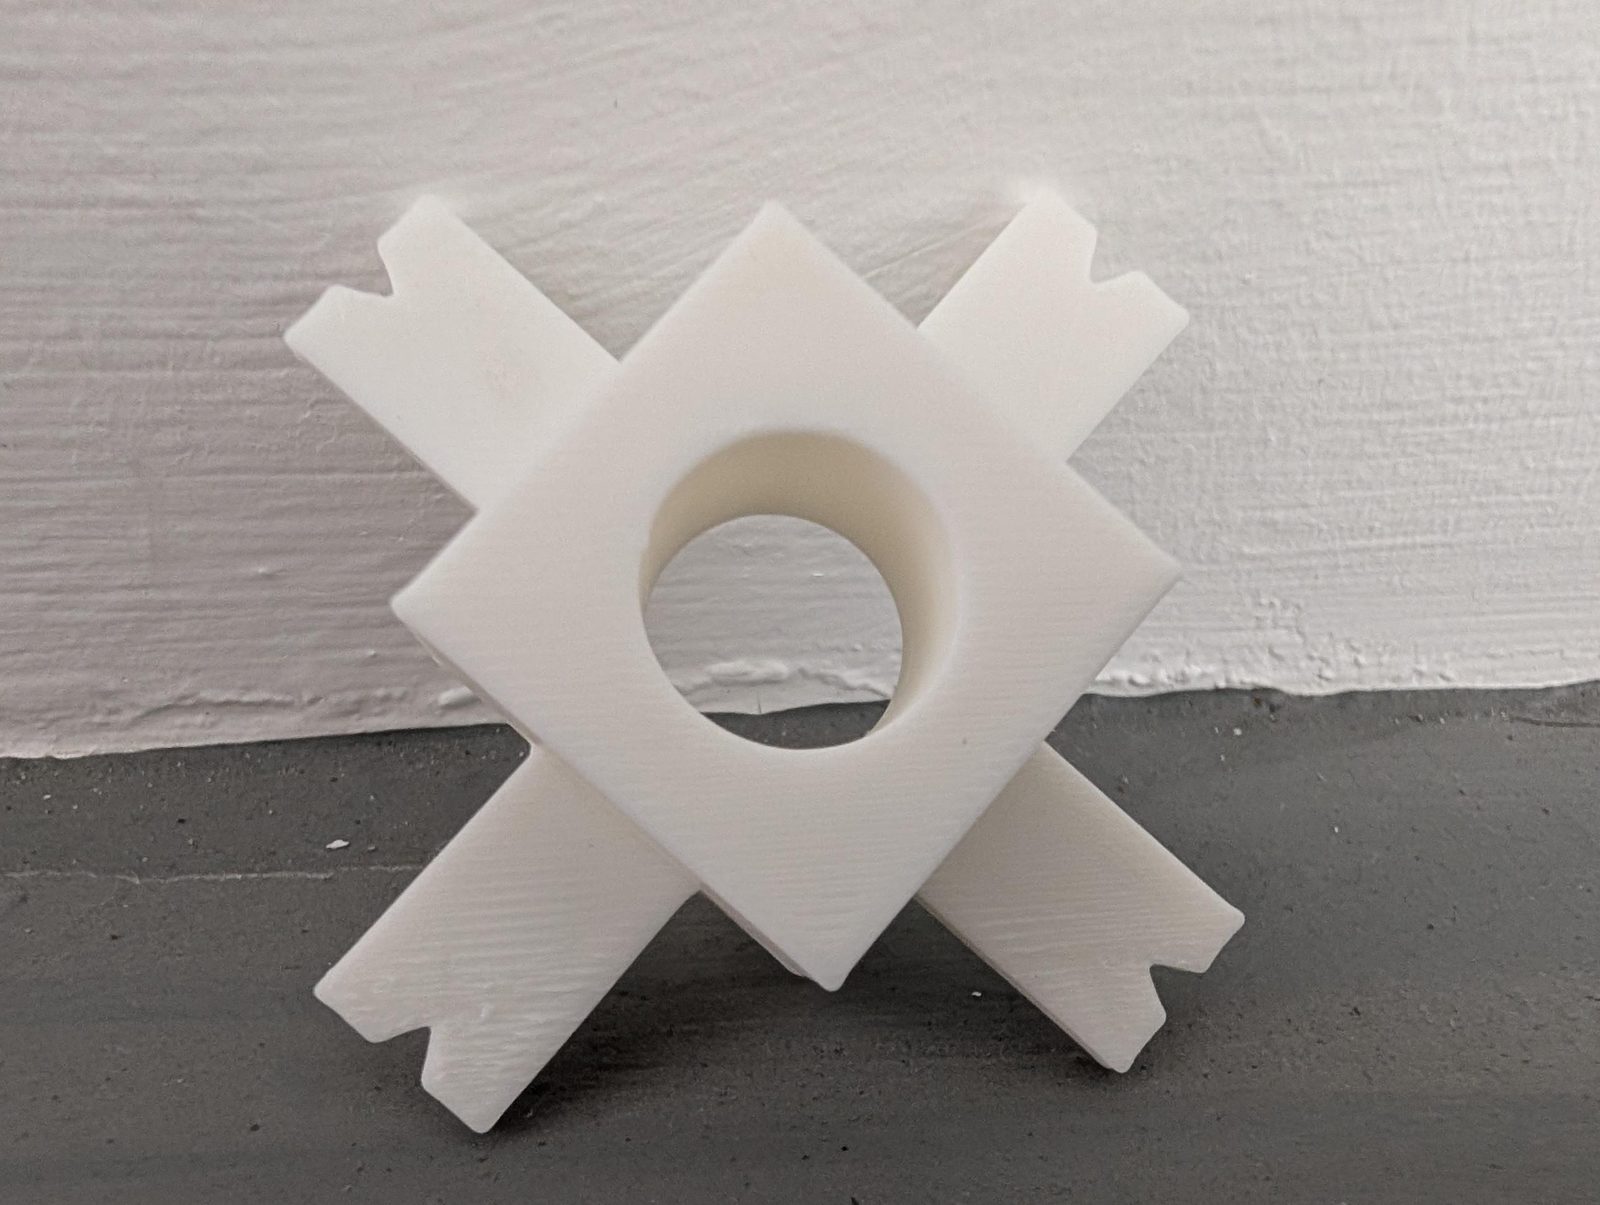
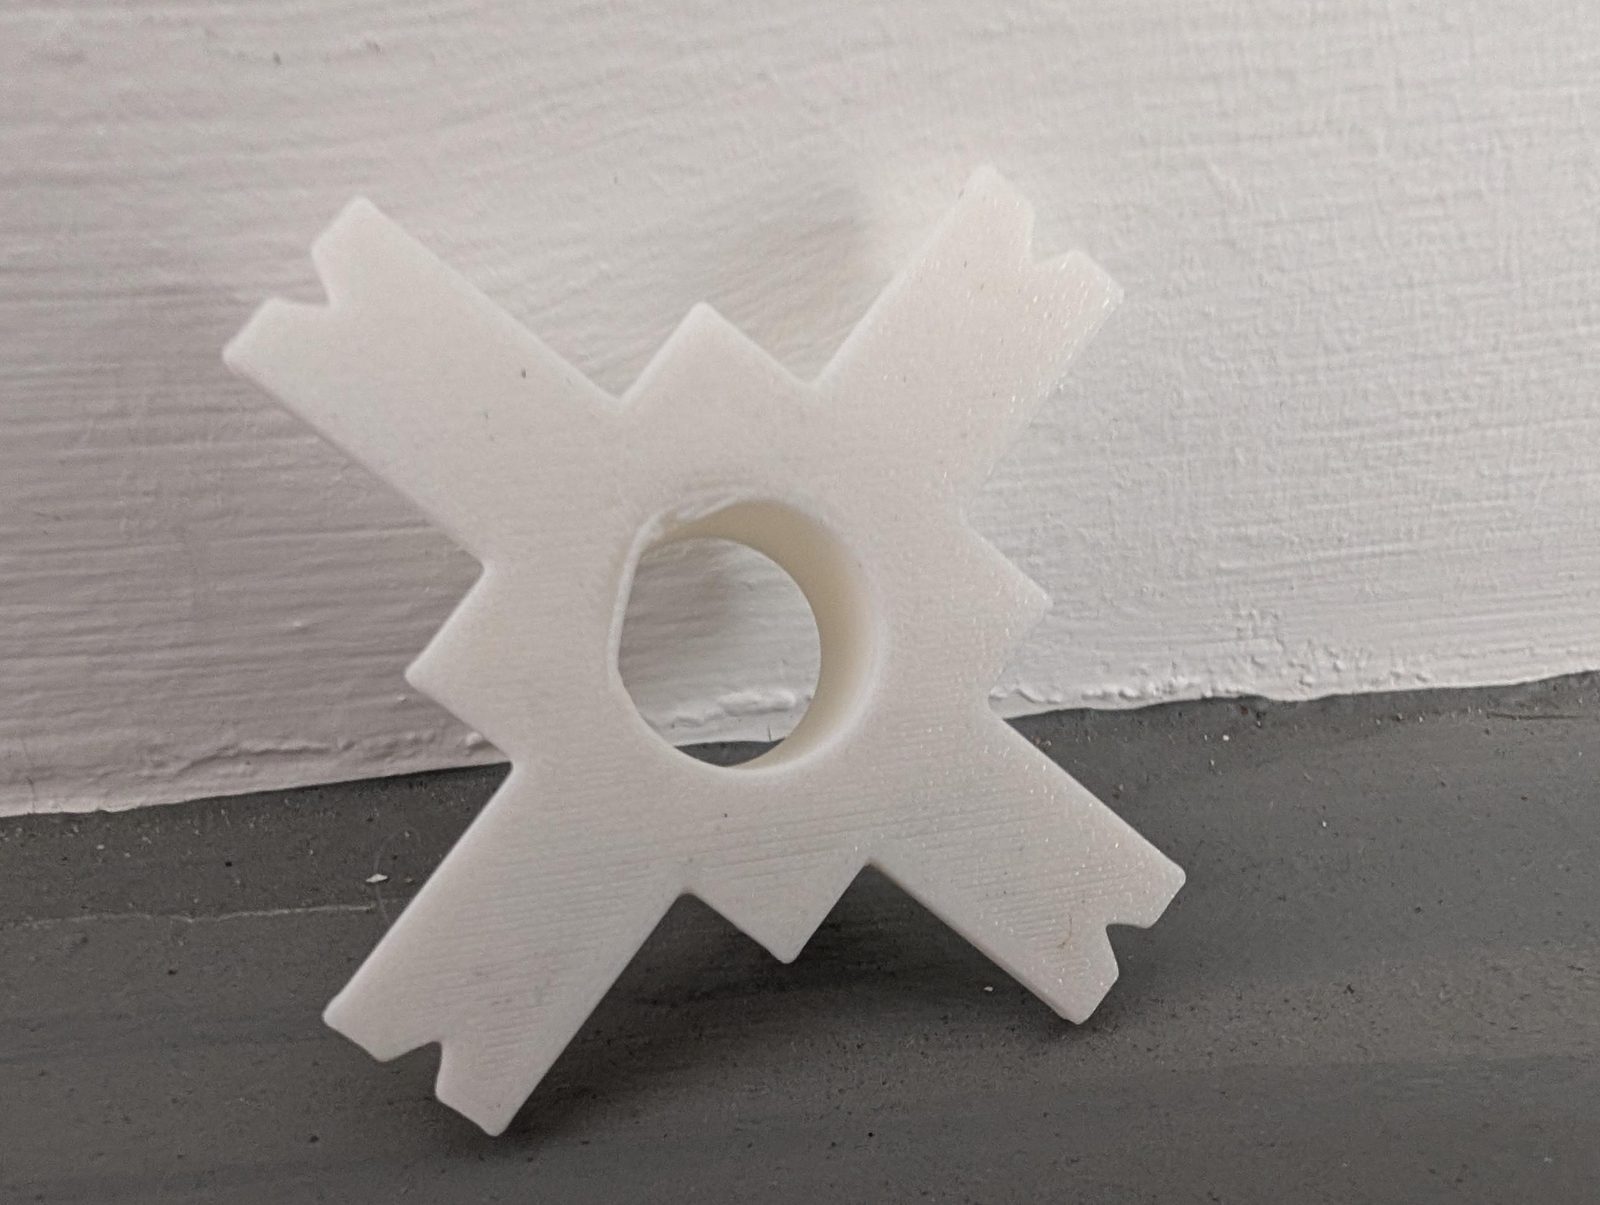
Using it
Mark the centre of your hole with a pencil cross, extending the lines out past where the feet will sit. Each foot ends in a small V-notch that lines up with the centre of the hole. With four feet, line the notches up with your cross and the hole sits right over your mark. Clamp it or hold it firmly, then drill.
Getting the hole size right
Printed holes usually come out a little smaller than designed, because of how the plastic squashes out at the edge of each layer. If your bit binds, add 0.2 to 0.4 mm of hole clearance and print again. Print a short one first (set the height to 5 mm) to check the fit before printing the full guide.
A plastic guide is fine for wood and for starting holes, but a spinning bit will wear the hole over time. For lots of holes, or for metal, make the guide taller so the bit stays straighter, and treat it as a consumable.
How it’s made
The model is generated in JavaScript with manifold-3d, a geometry library compiled to WebAssembly. The same code made the default file (with node scripts/build-drill-guide.mjs) and runs in your browser when you change a value, so the STL you download is made on your own machine. The link from Copy link keeps your settings, so you can share a particular size.