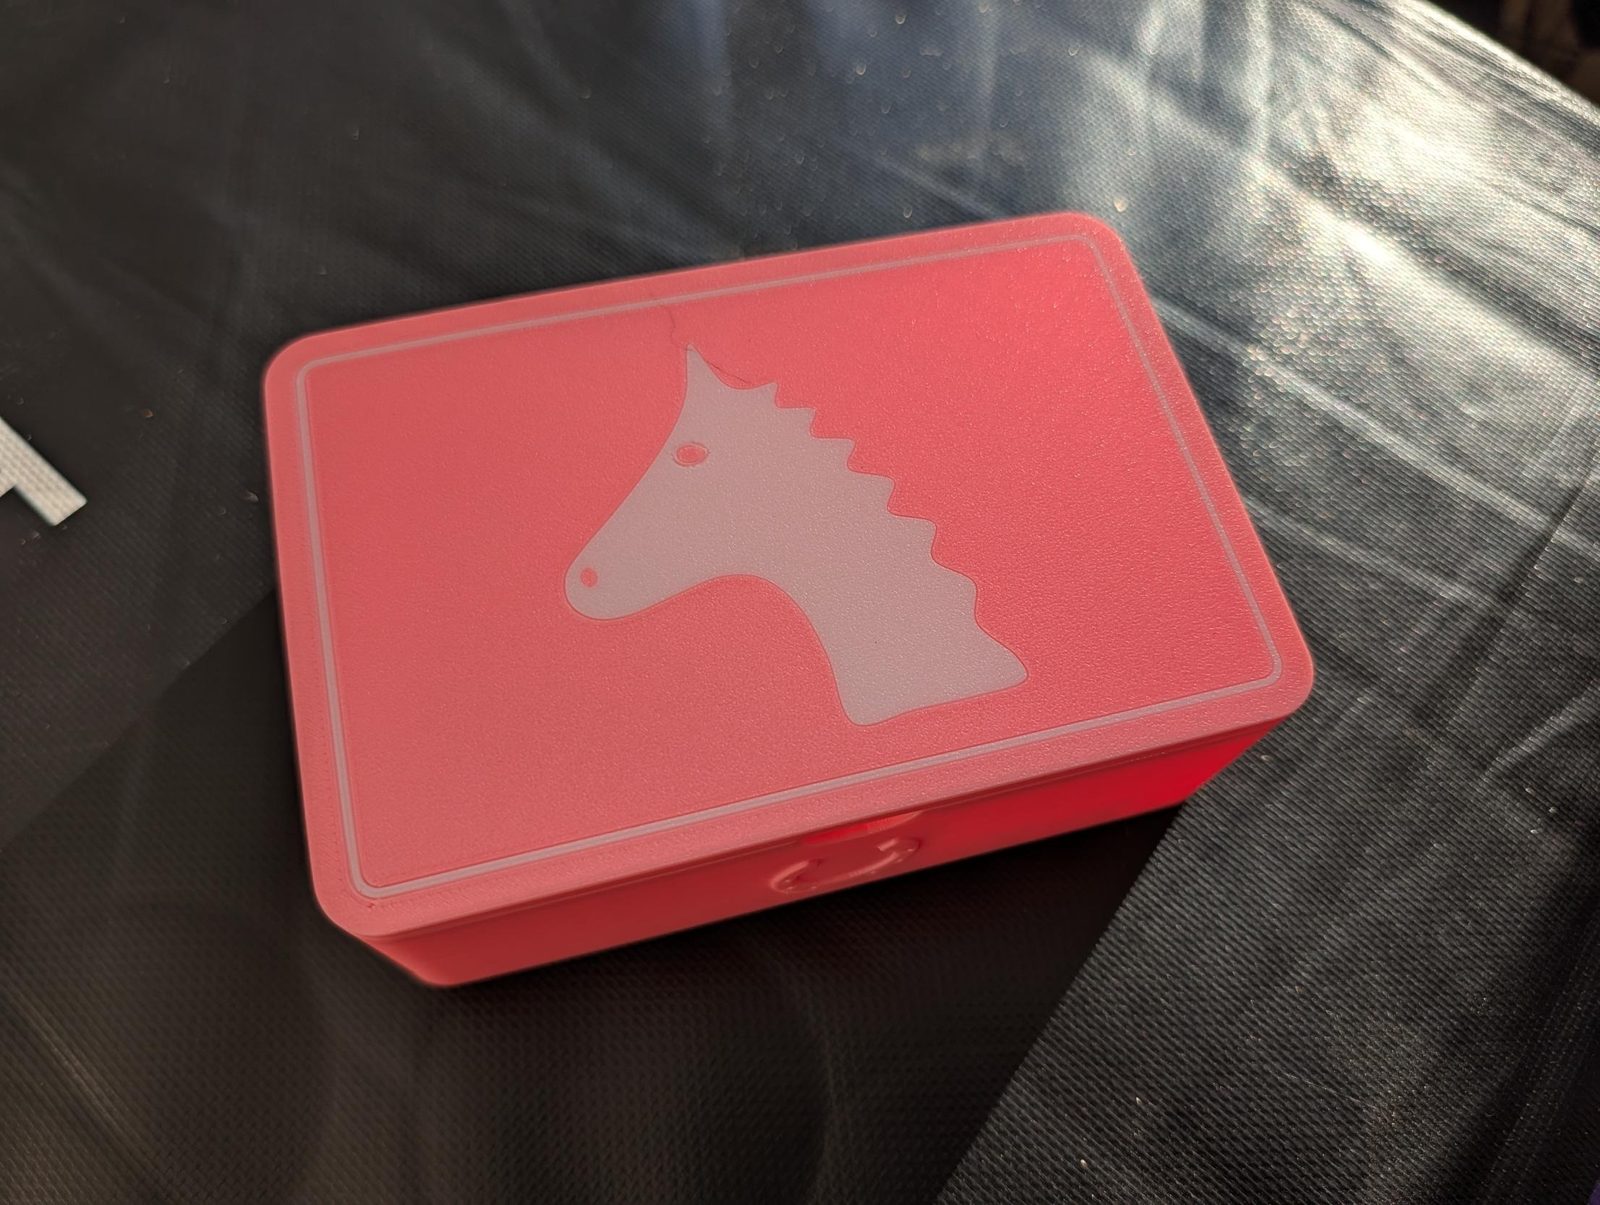
A 3D printed jewellery box for my daughter, with a horse head inlaid in the lid, horseshoes on the sides and a grid of little cubbies for stud earrings.
My daughter’s earrings had been living in a mix of little bags and pots, so I printed her a jewellery box. She’s horse mad, so it has a horse head on the lid and lucky horseshoes on the sides.
The design
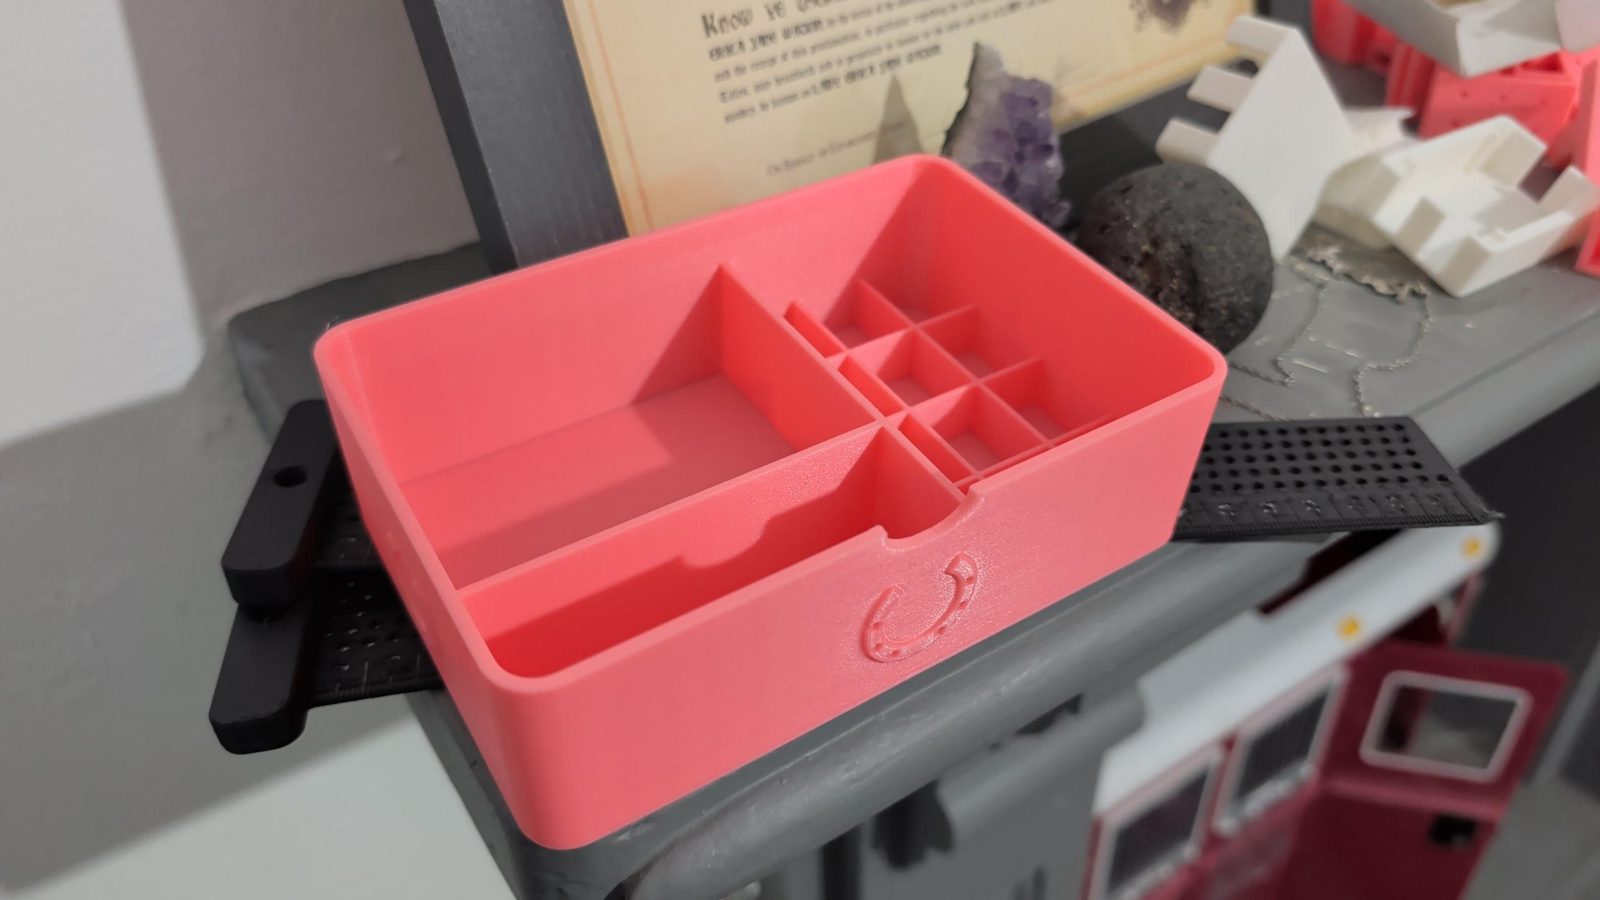
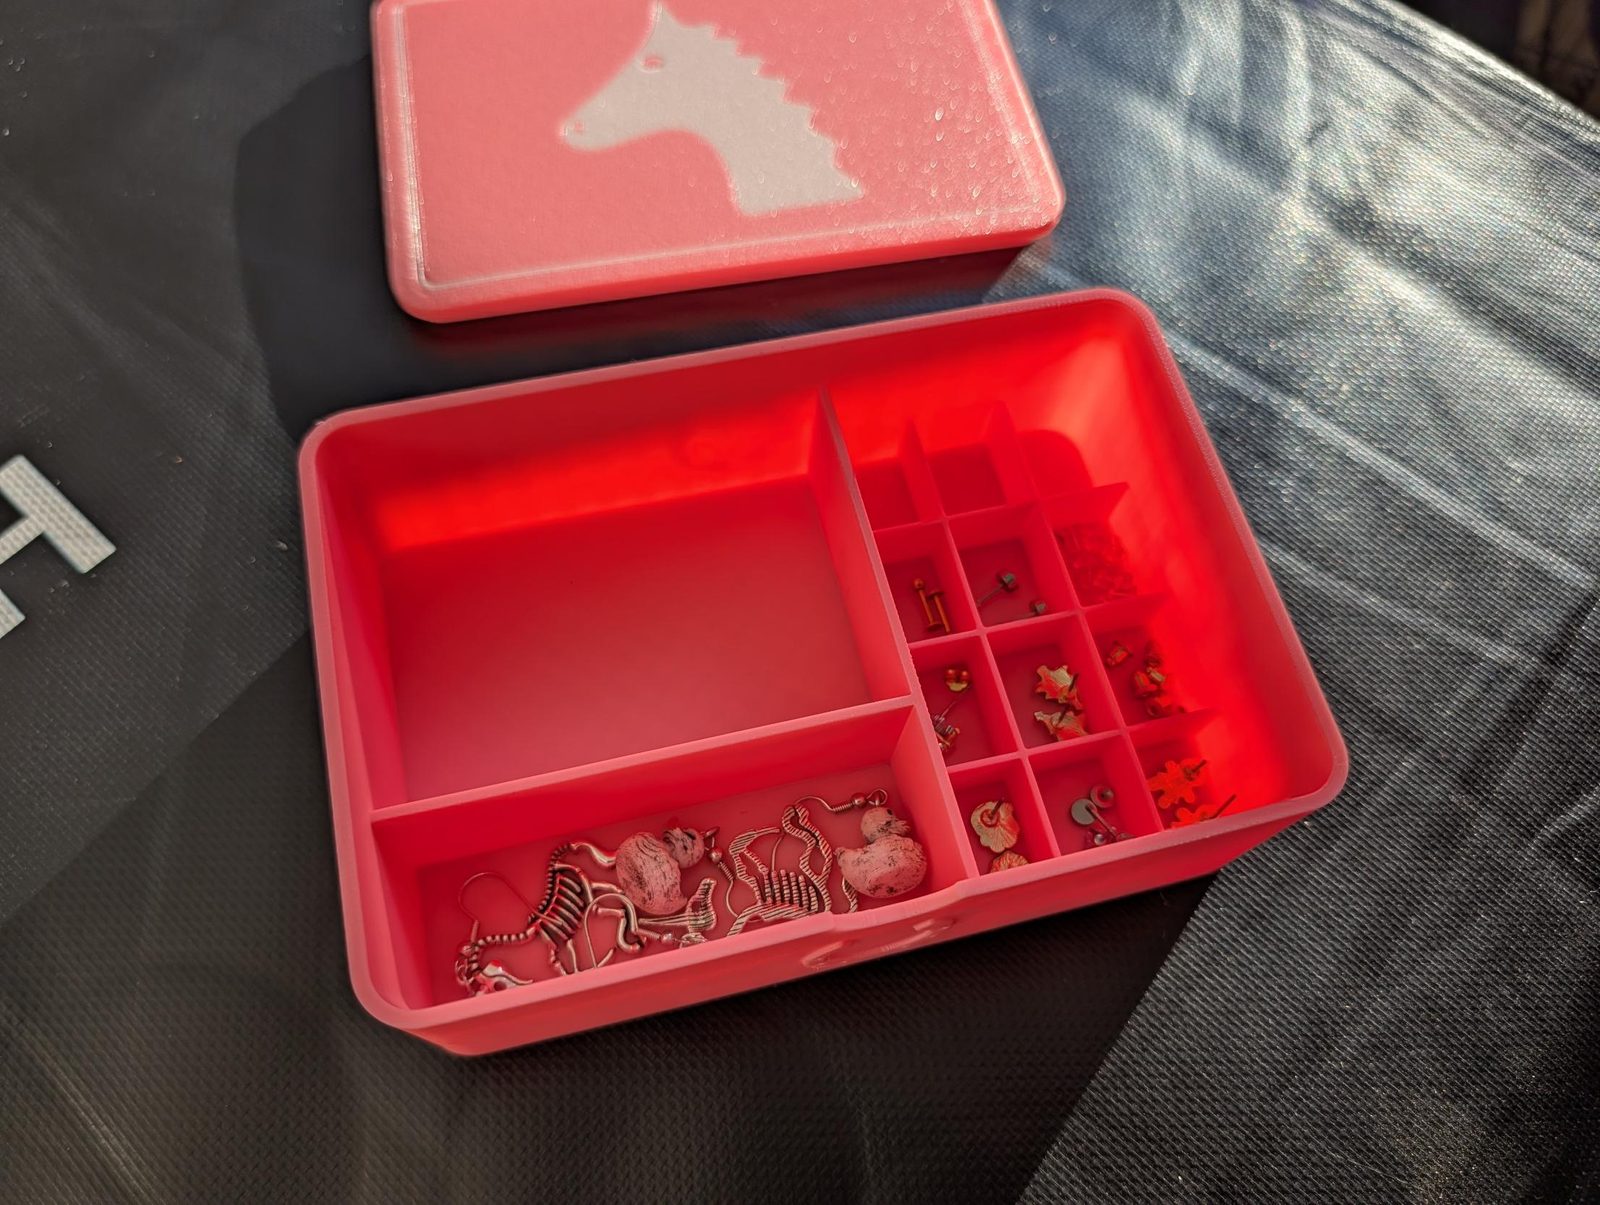
The first version was 110 × 80 mm with one big compartment and two small ones. That was too small, and studs get lost in a big compartment, so the second version grew to 150 × 100 mm (54 mm tall with the lid on) and gained a grid of cubbies:
- Twelve earring cubbies down the right-hand side, about 18 × 23 mm each, one pair to a cubby. The walls between them are only 16 mm tall so small fingers can reach the bottom.
- A large compartment at the back for necklaces and bracelets.
- A long tray at the front for rings, hair clips and dangly earrings.
- A thumb notch in the front edge, so there’s something to get a finger under when lifting the lid.
- Horseshoes on all four sides, the right way up so the luck doesn’t run out.
The lid has a lip that drops 5 mm inside the base, with 0.25 mm of clearance on each side, so it sits snugly without hinges or magnets.
Loading model…
Printing the lid upside down
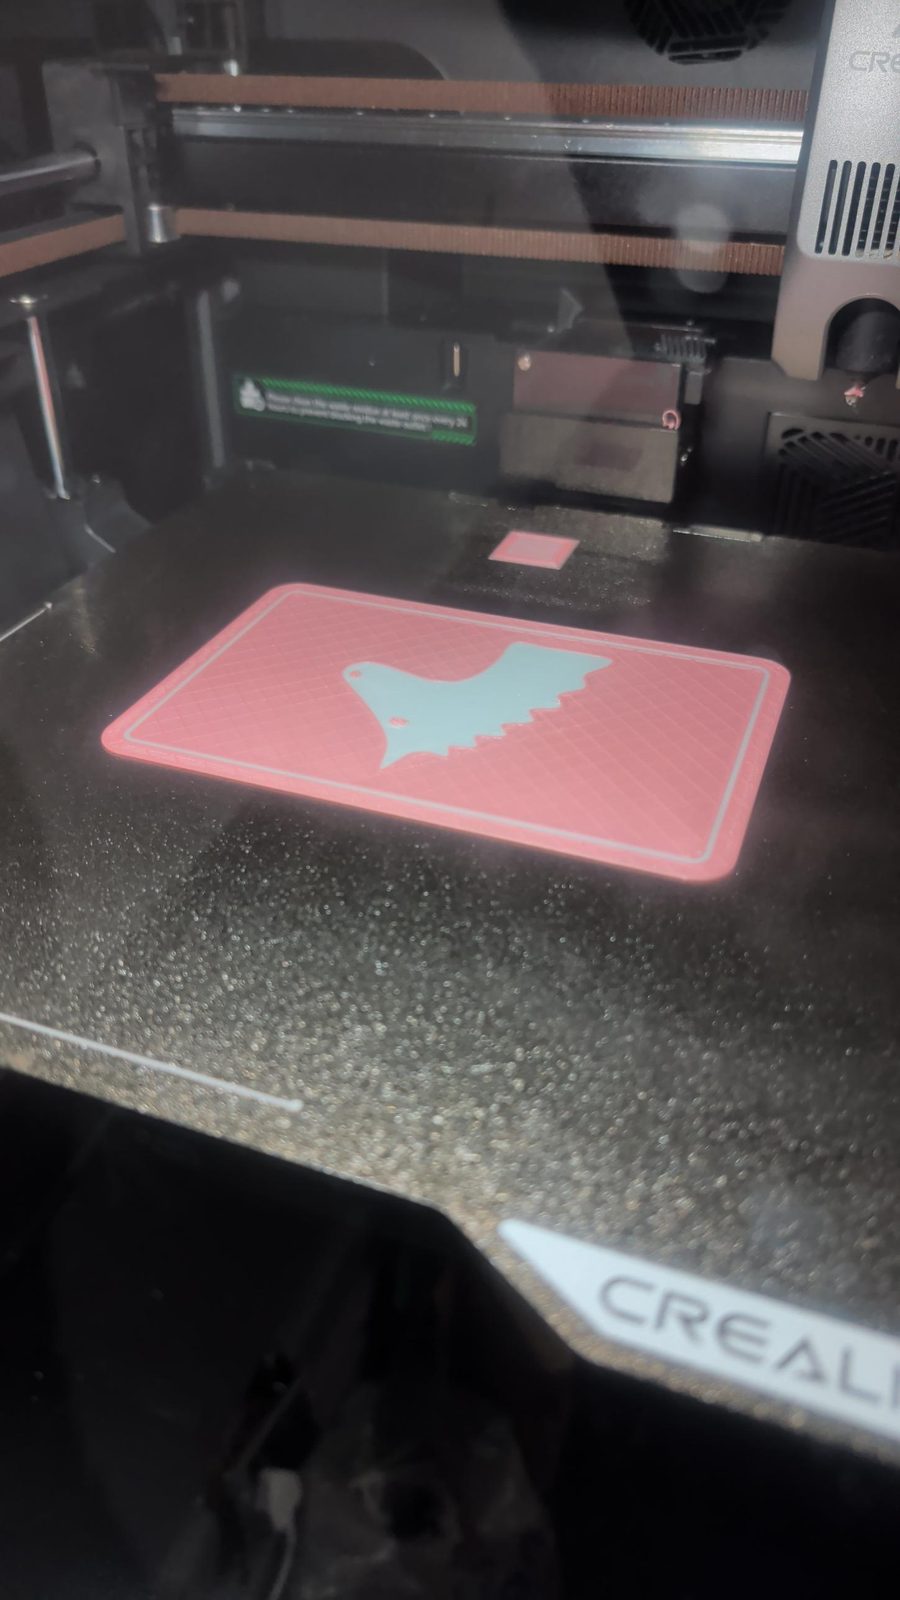
The lid prints upside down so the top comes out with the texture of the build plate. The horse and border are a separate part sitting in a 1 mm recess, and the printer’s multi-colour unit swaps filament for the first few layers. That’s only a couple of grams of the second colour, so the swaps don’t cost much. On the plate the horse is the wrong way round, and it’s the right way round once the lid’s flipped over.
The base needs no supports. The horseshoes are raised 0.8 mm from the walls, and the vertical walls print them cleanly.
Files and settings
- Base (STL): print upright, as downloaded.
- Lid (STL): already flipped, decorated face down.
- Lid inlay (STL): the horse and border, for a second colour.
- Two-colour lid (3MF): the lid and inlay together. Load it as one object with two parts and give the inlay its own colour.
I used PLA at 0.2 mm layers, 3 walls and 15% infill. With a single colour, just print the lid on its own and the horse comes out as a 1 mm deep recess, which still looks good.
I designed it with Claude, which wrote the model in Python with manifold3d, the same geometry library the other models on this site use. It’s also on the models page.